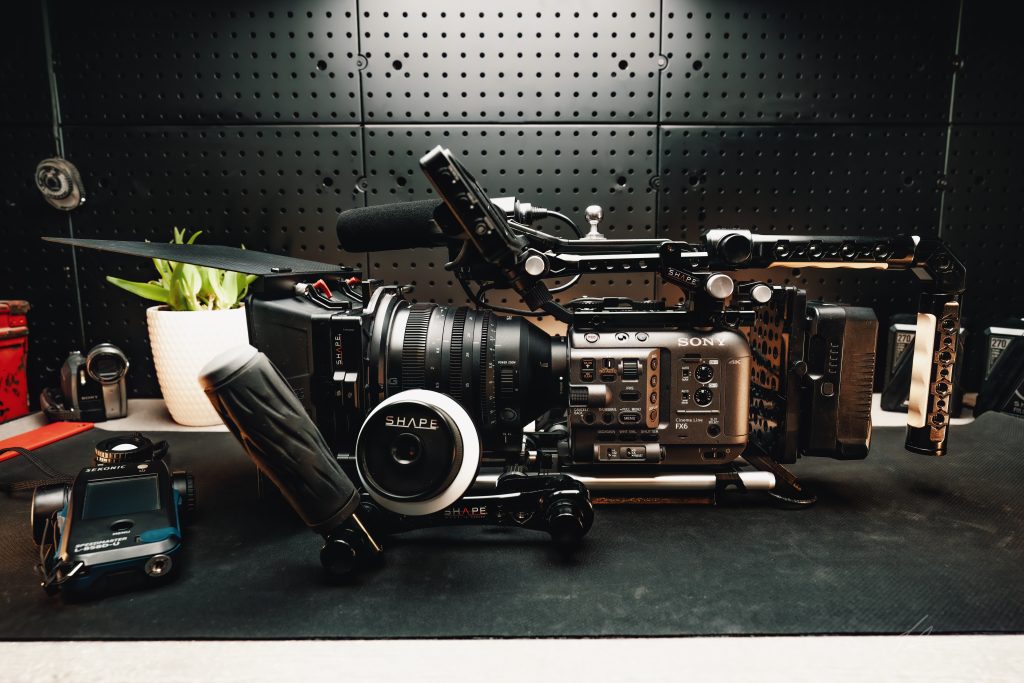
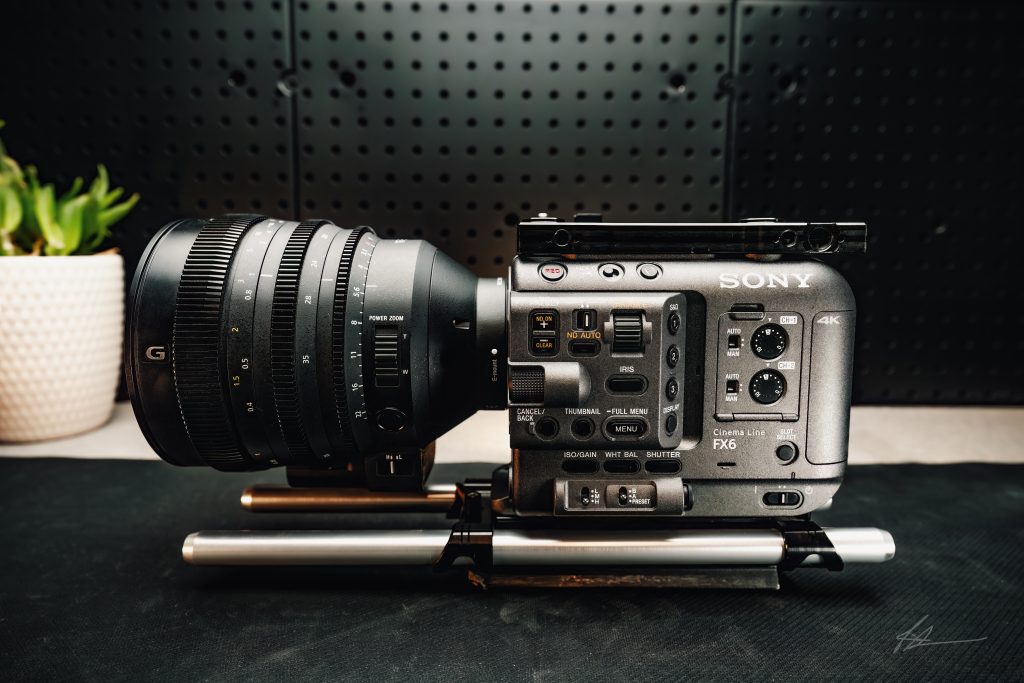
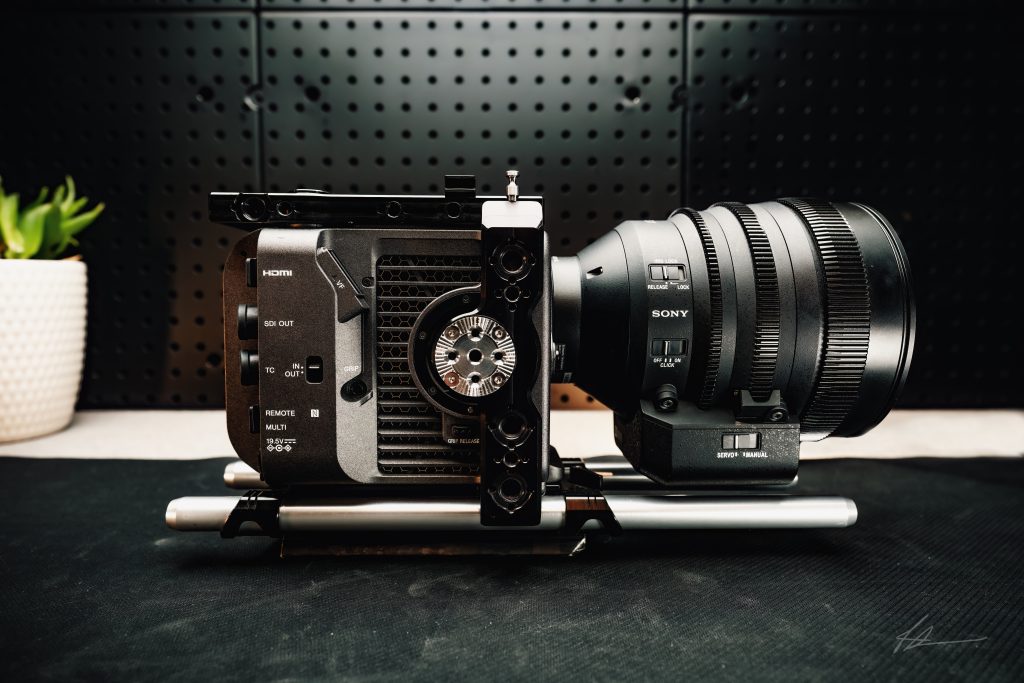
There is no doubt that the Sony FX6 is a must-have, powerhouse of a camera, a small form factor loaded with just about every tool you need for most productions. But just like every camera, it may require additional support to truly unlock its full potential.
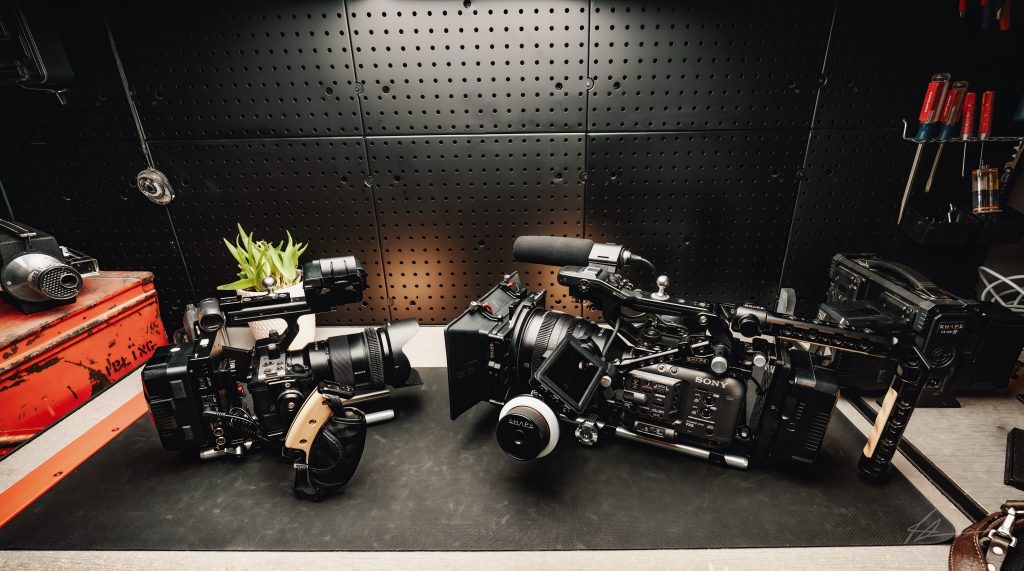
I am Rob W. Scribner, a commercial/documentary filmmaker, and I have had the great opportunity to use the SHAPE FX6 kit for quite some time now and have found it to be exactly what I need to fully complete my FX6 for my needs. I tend to have a very raw/cinematic, run-and-gun style for about 70% of my projects. I must be able to think very quickly, move fast, and be a master of my camera in any environment I am thrown into. The other 30% of the time, I need to be able to slow it down and shoot studio-style projects where stability, lots of accessories, and cables are part of the gig. One of the great things about the FX6 is its size… it’s not as big as an FX9 and not too small like an FX3. But what if you need more options for this camera for a shoot? The main goal is to give yourself maximum configurability options, whether you need a minimalist setup, a full studio rig, or the perfect run-and-gun rig. My SHAPE FX6 kits cover all those needs for me.
The best rail system for the Sony FX6
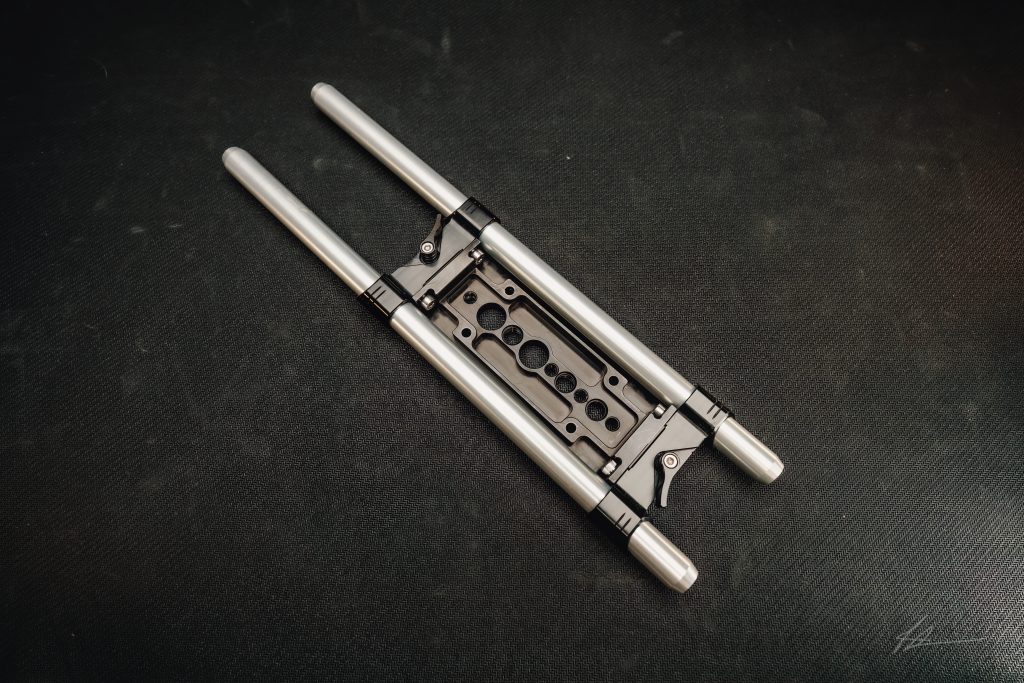
I put some sort of rail system on all my cameras. You need the ability to attach things like Matte Boxes, batteries, monitors, etc. The first thing I always acquire when I get a new camera is, in the case of my FX6, the SHAPE Sony FX6 15mm Base to get me off on the right foot.
Not every production is the same, and requirements per shoot can be very different. Having a great rail system and cage opens so many possibilities whether you are on sticks, running an Easyrig, or rigging the camera on car mounts. What really drew me to the SHAPE 15mm base was its simplicity. It can house two long rails and can be removed very fast if I need a low-profile setup, yet it seems strong enough for me to add everything I need on larger setups. Just remember, K.I.S.S. (Keep it simple, stupid). This LW Base is my K.I.S.S. setup that I can always fall back on when simple is the strongest option.
The perfect Top Plate for the FX6
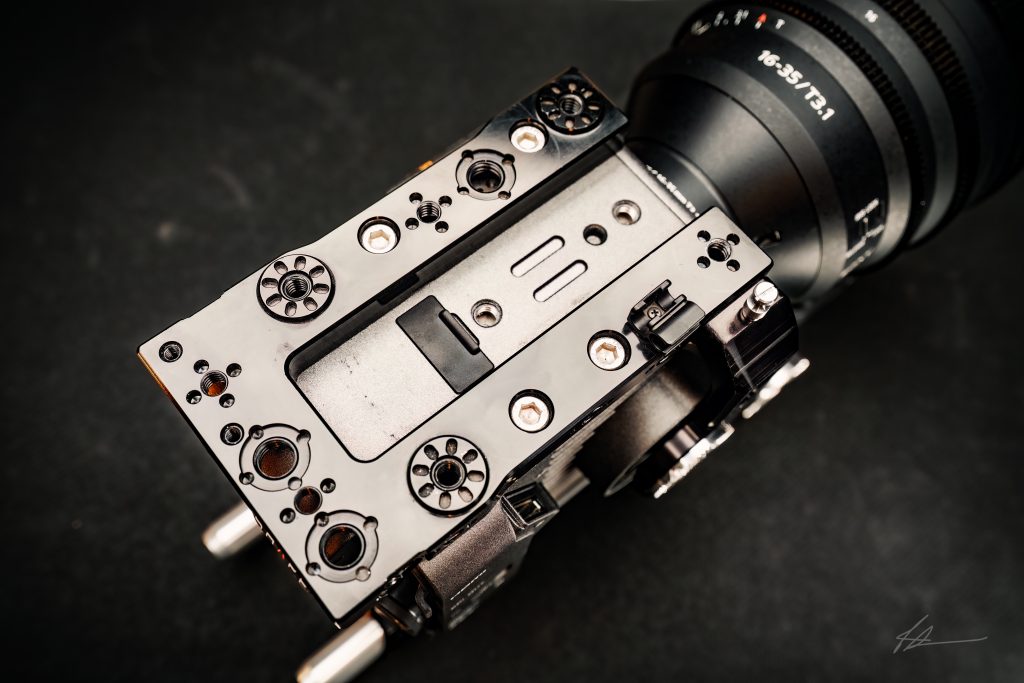
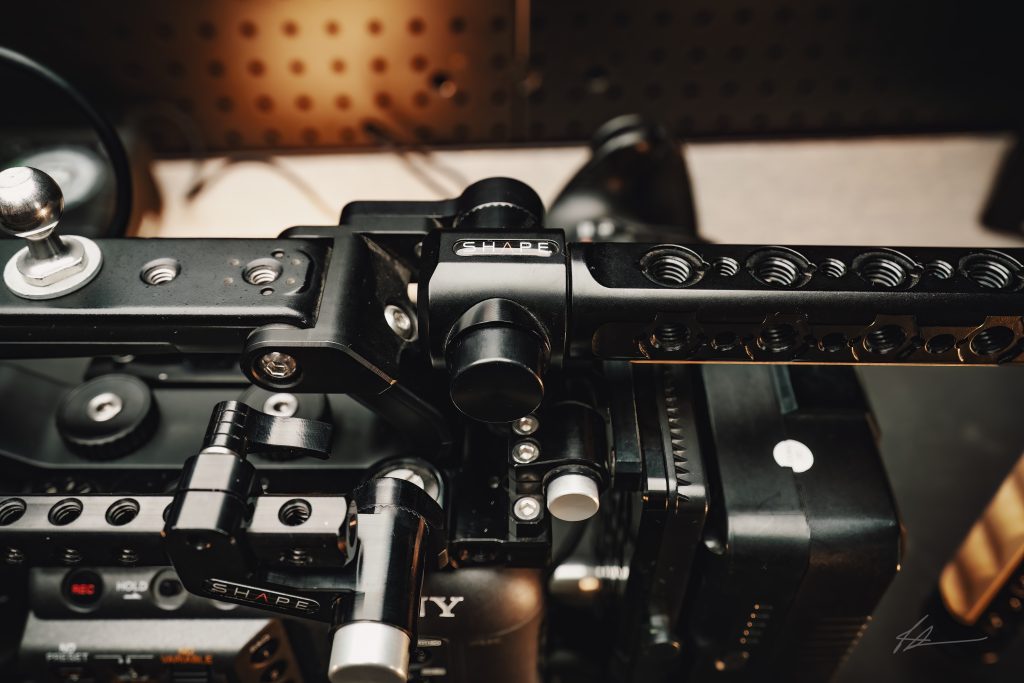
SHAPE has created a neat Top Plate design with ¼”x20 and 3/8”x16 threaded holes that slides in between the FX6 top handle, opening more possibilities for configuring your FX6 in several different ways. What’s great about this cheese plate design is it’s also compatible with SHAPE’s unique locking system to keep your devices from rotating in the chaos of set production.
The FX6 does have a nice design with ¼”x20 threaded holes across its top, but I would rather have a solid platform to mount my devices to. This is where the Top Plate comes in handy and has many more threaded mounting options than what the FX6 can provide. It’s also the second key component to making a cage system for the FX6.
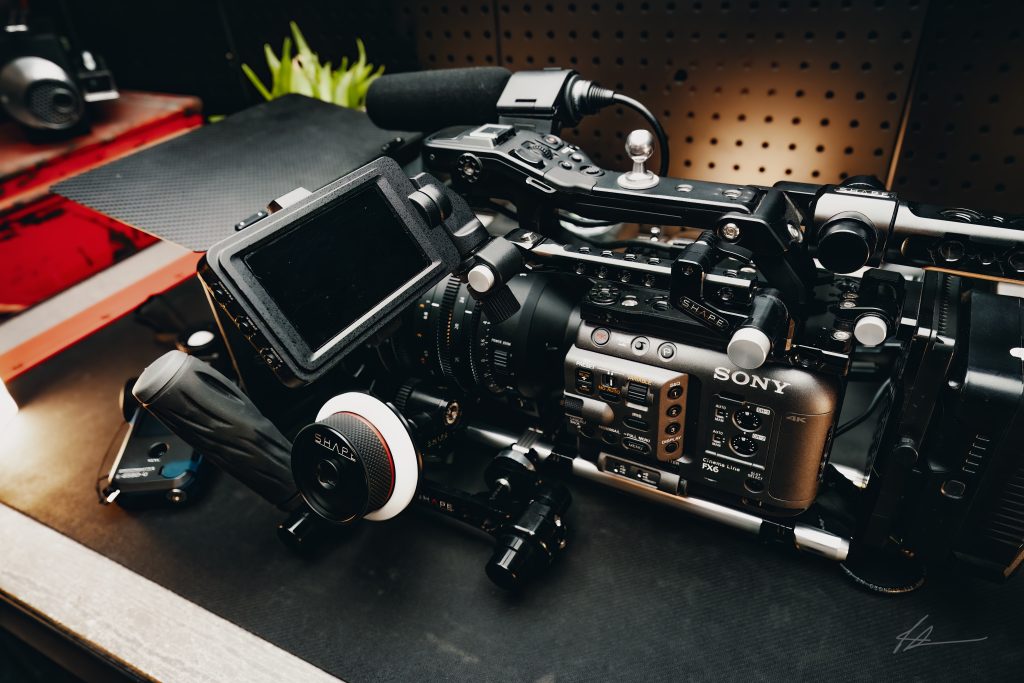
Sony FX6 camera cage
I absolutely love a good cage system and it was a must for my FX6. To install the last piece of the cage, you must have the Top Plate and some sort of base, which for me is the 15mm LW Rods. The side cage connects to the top plate and the base, making it extremely secure. On the right side of the cage, SHAPE has added an ARRI rosette again for more configurations of the FX6’s side handle or Arm Extension, which I will get into a bit later, but this is the foundation of the FX6.
Viewfinder Mount
Now that I have my foundation all worked out, let’s start with my viewfinder. I personally like to have my SHAPE FX6 Push-Button Viewfinder Mount set all the way in the back of my camera and then mount the viewfinder on the other end of the mount. The reason for this is that I tend to run an Easyrig about 80% of the time and I must move extremely fast. A lot of the best shots are very low-angled, so all I do is quickly push the button to rotate the viewfinder vertically and now it’s much easier to see during those low shots. I can quickly reposition the viewfinder, and it fits my style because of the location and design of this mount.
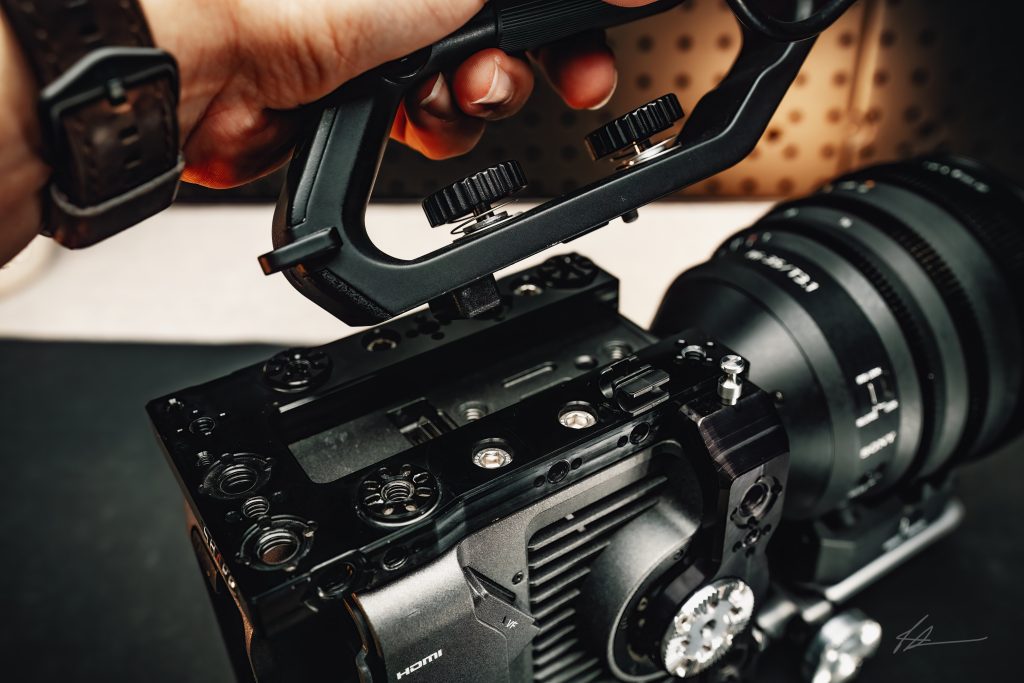
Controller Top Handle
One of my absolute favorite parts of SHAPE’s FX6 kit is this new Controller Top Handle. It mounts on the back end of the stock FX6 handle via a few ¼”x20 receivers, adding a nice handle extension to the top of the camera. The best part about this new handle design is the push button that allows you to change the angle of the handle. This is super helpful for those low-angle shots (especially when tethered to an Easyrig). If you have ever used an Easyrig, it can be difficult to bend over in the moment and get a low shot because of the tension and angle of the support string. With the Controller Top Handle, I just push the button on the side so the handle is vertical and now I can get a great low shot with much less hassle/discomfort.
I also found this handle to be super helpful for getting more stable shots when handheld or running an Easyrig by tucking the handle extension in between your arm and chest, keeping the camera close and secure to the body. It really removes a lot of jitters that you may encounter on fast-paced productions, and since the FX6 does not have IBIS like the FX3, it’s up to you to make it as steady as possible.
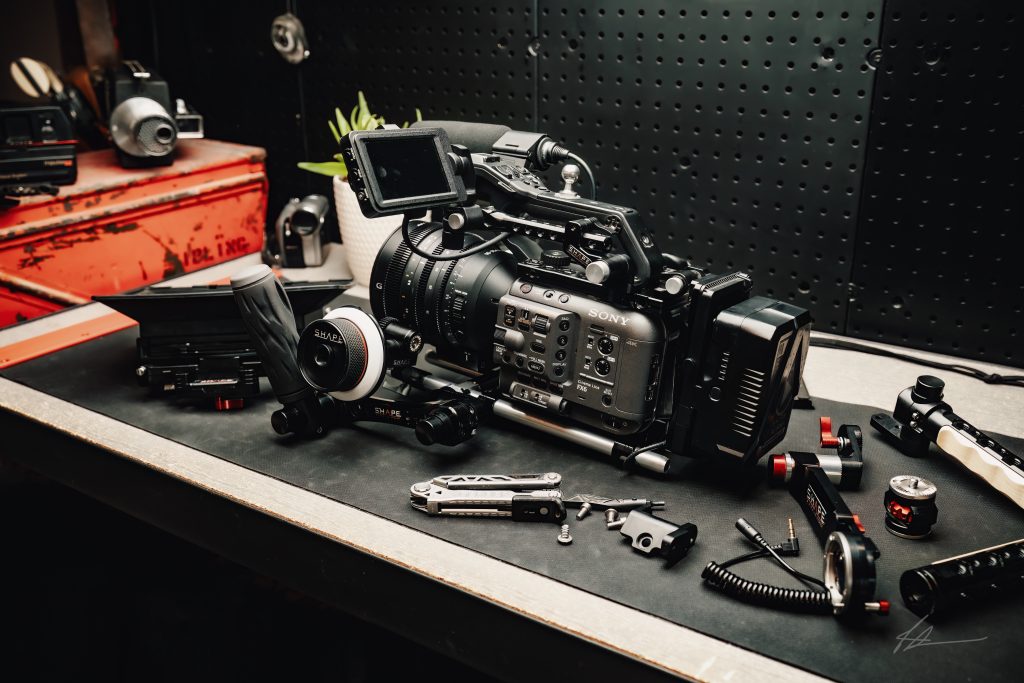
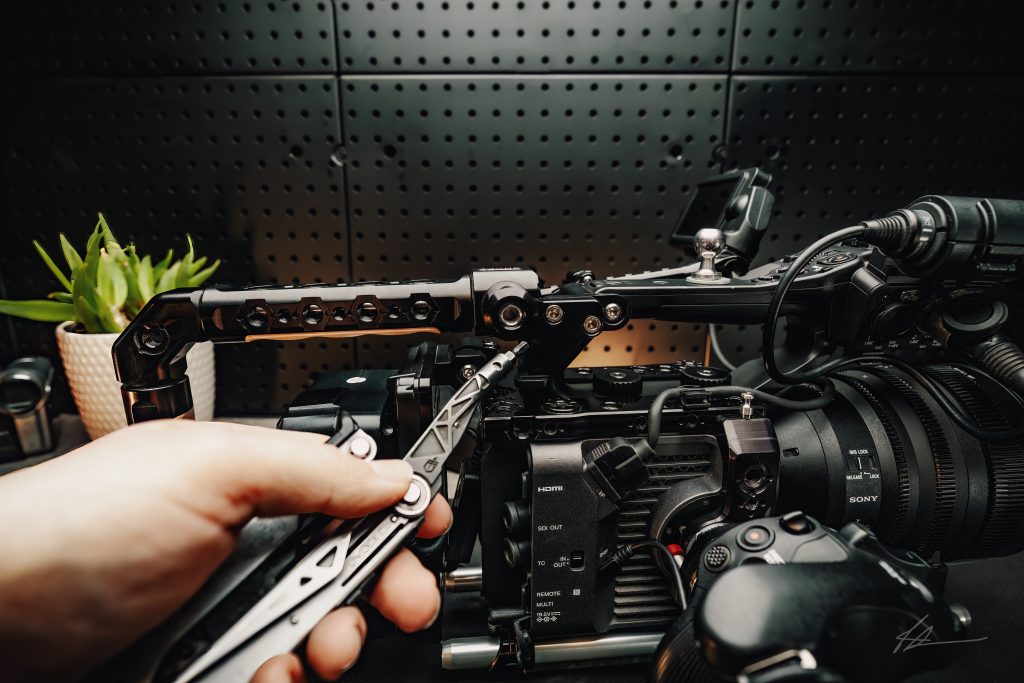
Now, I think it’s important to note that I don’t always use this handle on every shoot. There are times when I do remove it because it does add quite a bit of bulk to the camera. Again, one of the great things about the FX6 is its small form factor. However, SHAPE has made it pretty easy to remove the handle with only three screws that hold it securely on. I always have a multitool on me (Gerber Center Drive) and a pouch to place the screws into to help with these situations on the fly.
Pivoting Battery Plate
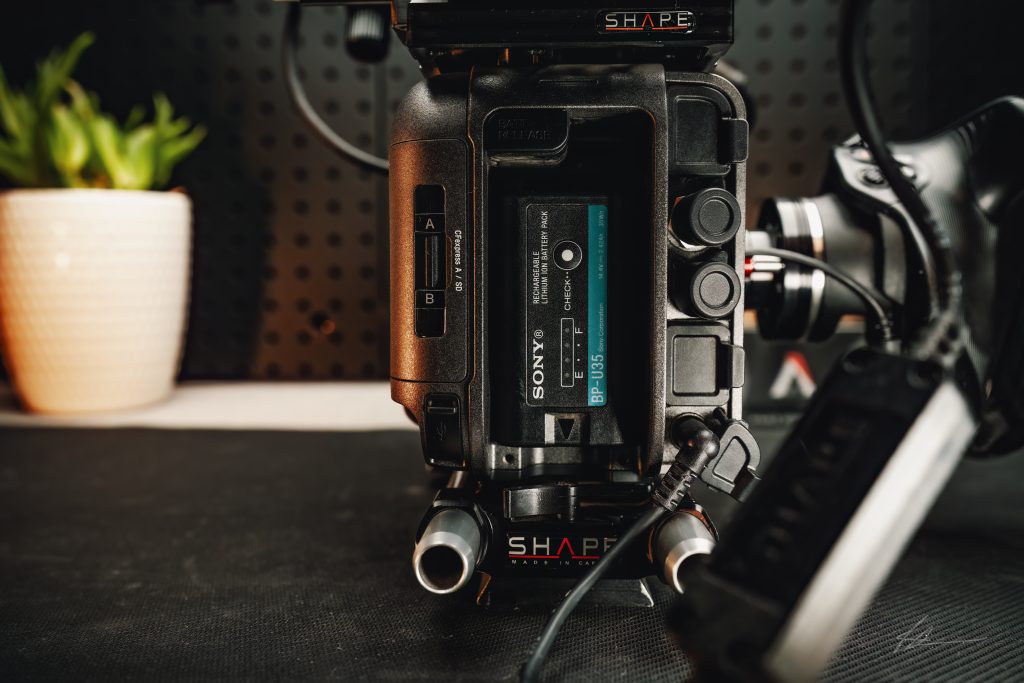
SHAPE has also included a simple way to add V-Mount or Gold Mount battery options to power your FX6 and other necessary devices like Video Transmitters or Field Monitors via their V-Mount Pivoting Battery Plate. I run V-Mount batteries, so I will mainly be discussing those, but just know SHAPE also has Gold Mount options as well. The V-Mount Battery Plate sits pretty close to the body of the camera, which can make it difficult to add/remove cards from the camera, but since the plate pivots upward via another SHAPE famous push button, I can quickly reposition the plate up, add/replace cards, or replace the small Sony that comes with the camera quickly.
A side note: I always keep the Sony BP-U35 battery installed in the camera on my shoots because the V-Mount Pivoting Battery Plate provides power to the FX6 through the wall power port with a small cable. When using the camera this way, it thinks it’s wall power and only shows the voltage remaining of the battery in the camera’s viewfinder. So, if I am running around filming, it can be hard to check the battery’s level. Since I have the BP-U35 battery installed, if the V-Mount battery accidentally dies, it will automatically switch over to the BP-U35 and allow me to continue to get the shot with no power disruption until I can replace my V-Mount with a fresh one. The V-Mount Battery Plate also mounts to the SHAPE top Cheese Plate with two screws.
The best camera batteries for the Sony FX6
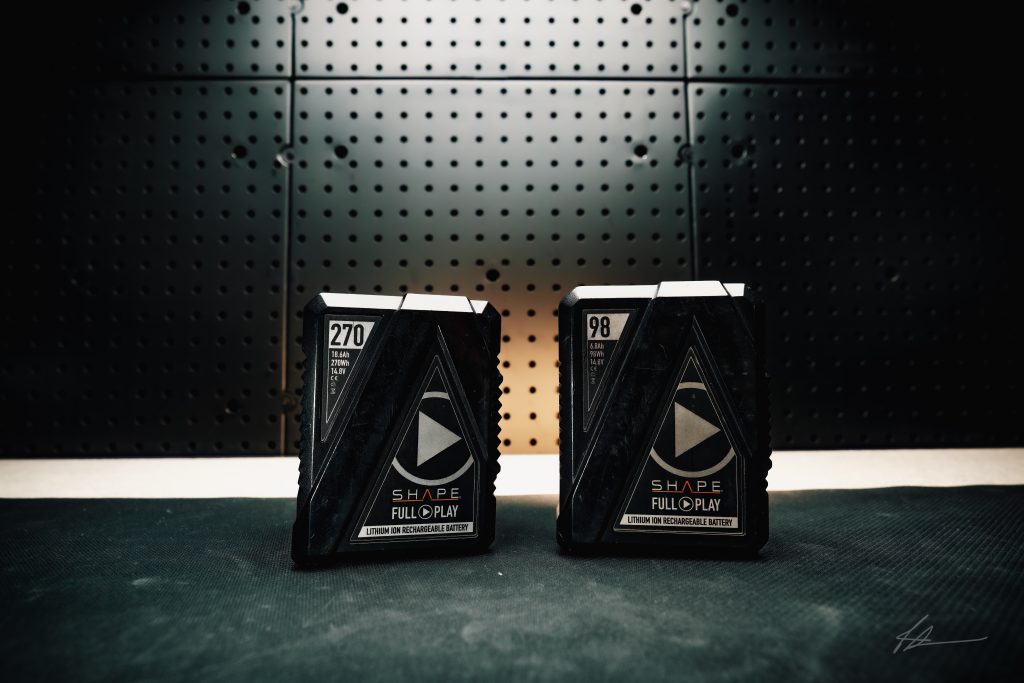
Did you know SHAPE also makes batteries? Seriously, SHAPE’s batteries are very noteworthy and definitely worth everyone’s attention. I have been running their 98Wh and 270Wh for about 4 years now and they are my go-to batteries when prepping my gear. I have really put these batteries through the ringer and not once have they ever disappointed me. They are very simple in design, as they should be in my opinion. I just need them to work and be reliable. My favorite one to run on camera is the 98Wh because of its size, and it has a USB plus a D-tap port for my accessories. On large projects where I am out in the field for hours, spanning lots of locations, I like to run the 270Wh batteries. They are much heavier but last forever. The 270Wh batteries also work great on my LED-battery-powered light like the Aputure 600D, so make sure to keep a few of these babies around as a backup.
If you need batteries, then you also need chargers. I have the SHAPE Intelligent 4-Channel V-Mount Battery Charger in my kit and just love it. It basically retired my old Sony V-Mount charger because it works so well and can charge 4 at once vs 2. Plus, I just like the design of a stand-up charger that can convert AC to DC power for my FX9 if necessary.
On a side note, my kids and family members love to steal the batteries and use them to charge their phones on car rides or if the power goes out. They are fought after a lot in my household.
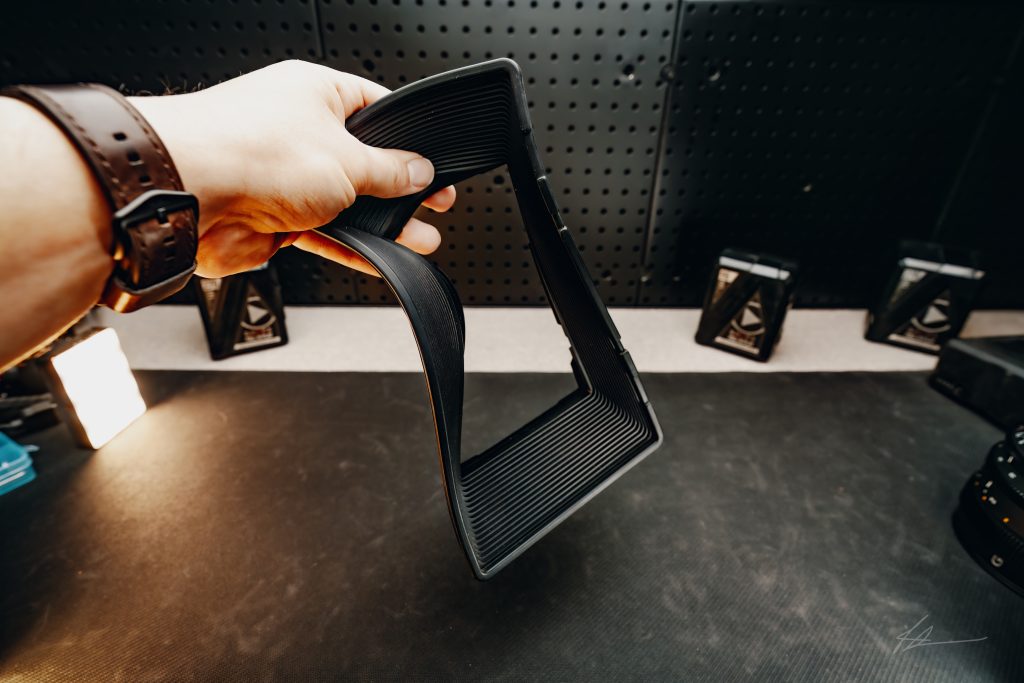
Matte Box
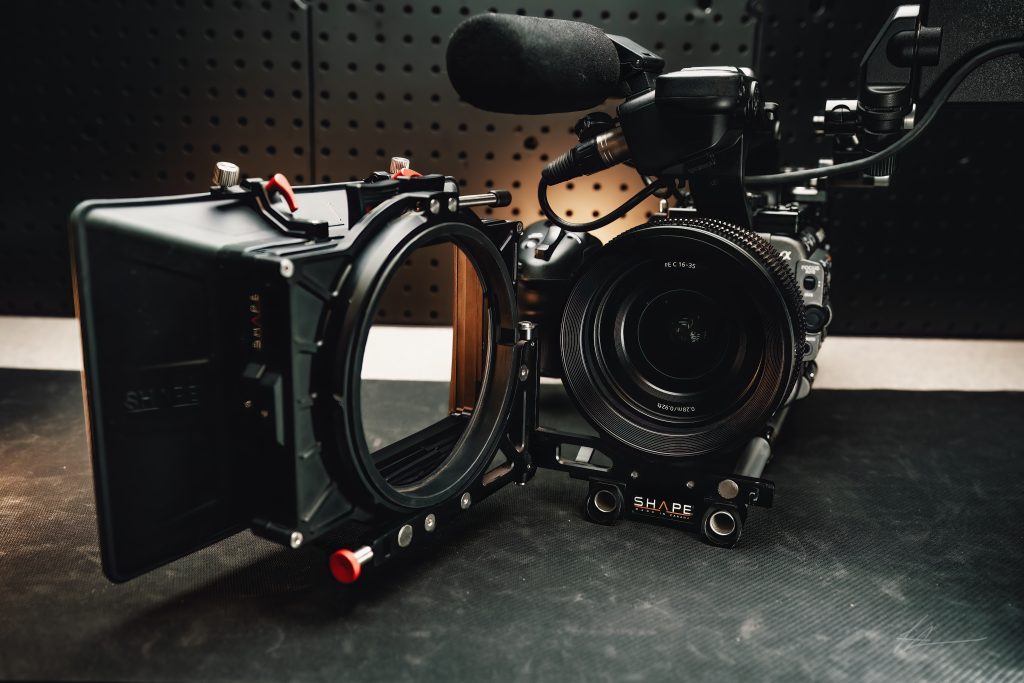
I have used quite a few of SHAPE’s Matte Boxes in the past and have always enjoyed them, but as most people know, matte boxes can be a bit bulky and awkward, especially on skeleton crew jobs. Recently, more lightweight designs have been hitting the market, but they create a new set of problems with their limited configurations, although they are very small and lightweight. SHAPE has created a wonderful new design that fits right in the middle for me with their Swing-Away Matte Box. It’s still light, has two filter trays, one that rotates, holds most typical filters required for bigger lenses, is rail mountable as well as lens mountable via lens adapter rings, and finally has a swing-away design for quick lens changes. What makes this design special is the rubber Matte Box portion that is very light and super easy to remove. I don’t know about other filmmakers, but my matte boxes tend to get very dusty quite fast out in the field, which is not always easy to clean, but because of SHAPE’s new rubber design, you can remove it crazy fast and give it a good rinse, dry it off, and put it back on for the next shot.
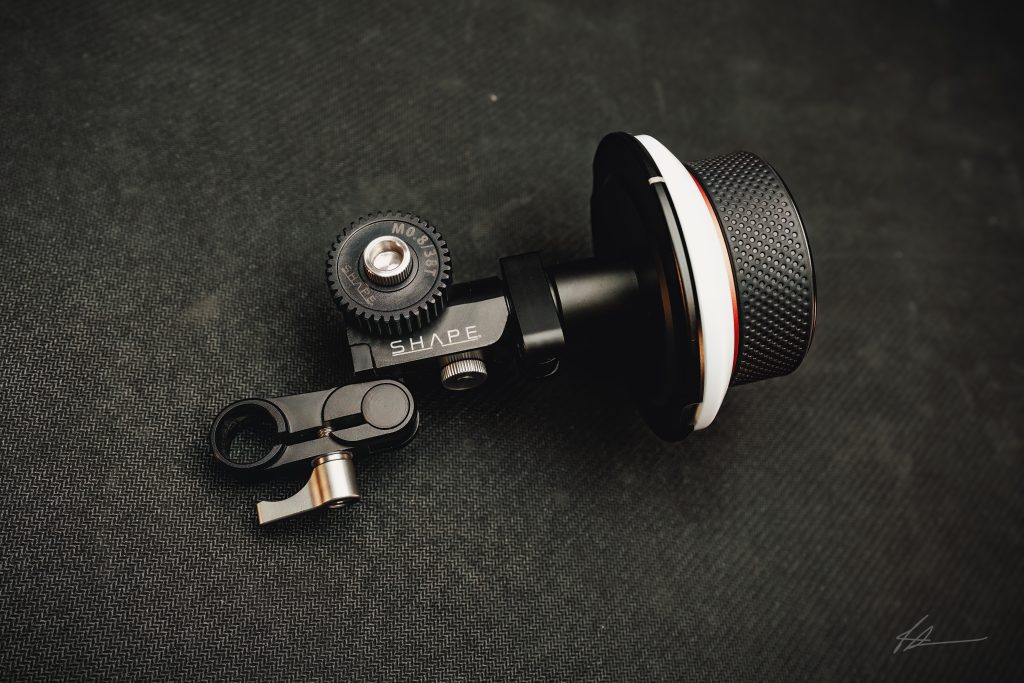
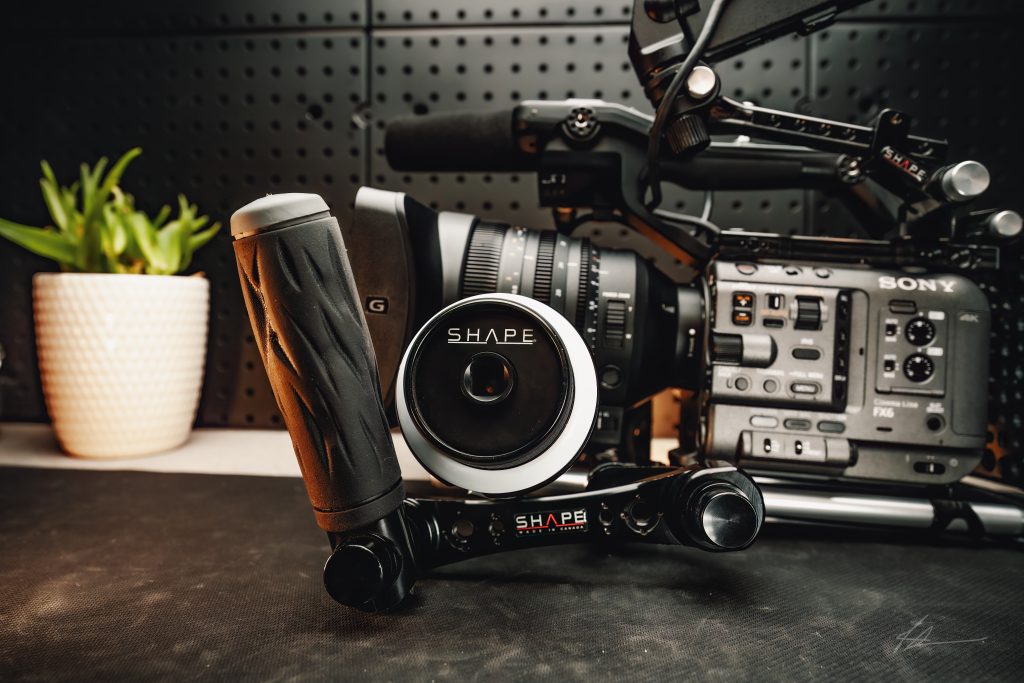
Follow Focus
Sony has created an incredible hybrid autofocus system that has been a game changer for modern-day cameras. It’s still blowing my mind how responsive, accurate, and time-saving this new technology is; however, there are still times when manual focusing is the way to go. I have used a lot of follow focus systems over the years, and they can also be a bit bulky and awkward, so for my FX6 package, I opted to try SHAPE’s Single Rod Follow Focus 15mm LWS. I have to say, this smaller SHAPE follow focus is definitely my favorite now that I have used it. It’s just the right size for my needs and easy to mount with its one 15mm rod mount design. It also comes with several marker rings, a whip, and crank depending on its use. If I were to nitpick this accessory, my only notes would be that I wish you could reverse the gearbox or attach a second gear that reverses its direction. It’s not a deal breaker by any means, but my brain seems to operate backwards from the direction this follow focus is designed. If I am using it, I just take an extra half second to remind myself that it’s opposite and get to it. It’s becoming easier with lots of practice, but it feels like I am going against the grain in my head occasionally.
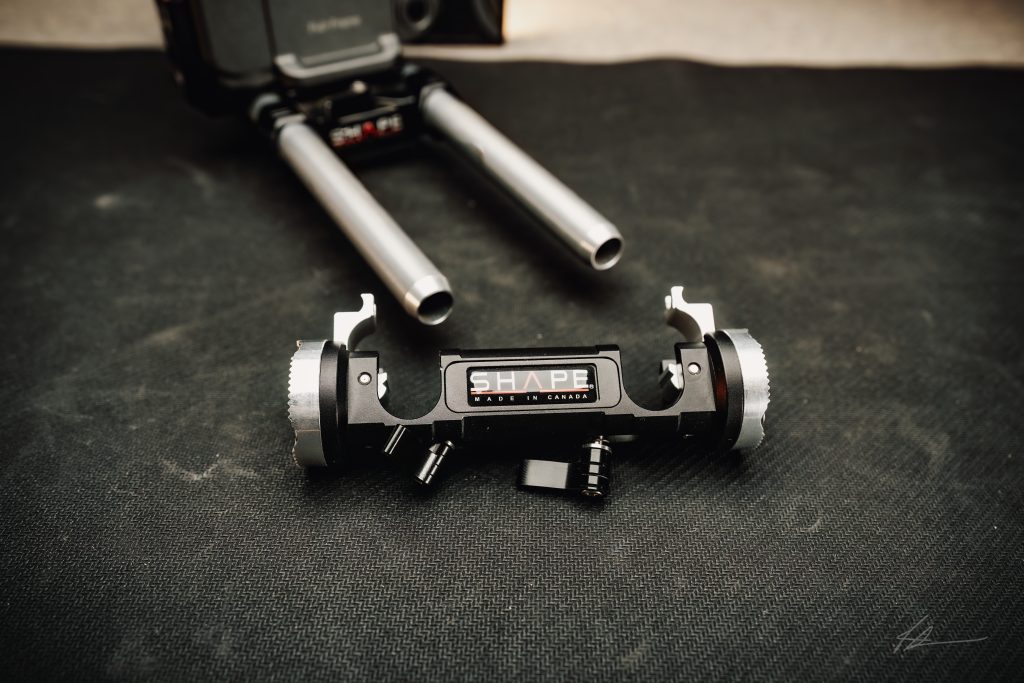
Handle Connectors
In my kit, I also added the SHAPE LWS Cuff Rod Block with the double-sided ARRI Rosettes for adding handles or arm extensions. I really love these handcuff designs because you don’t have to remove your matte box or follow focus to add or remove them. Since they attach like handcuffs (as the name suggests), you can quickly add or remove them on the fly and save a lot of reconfiguration time.
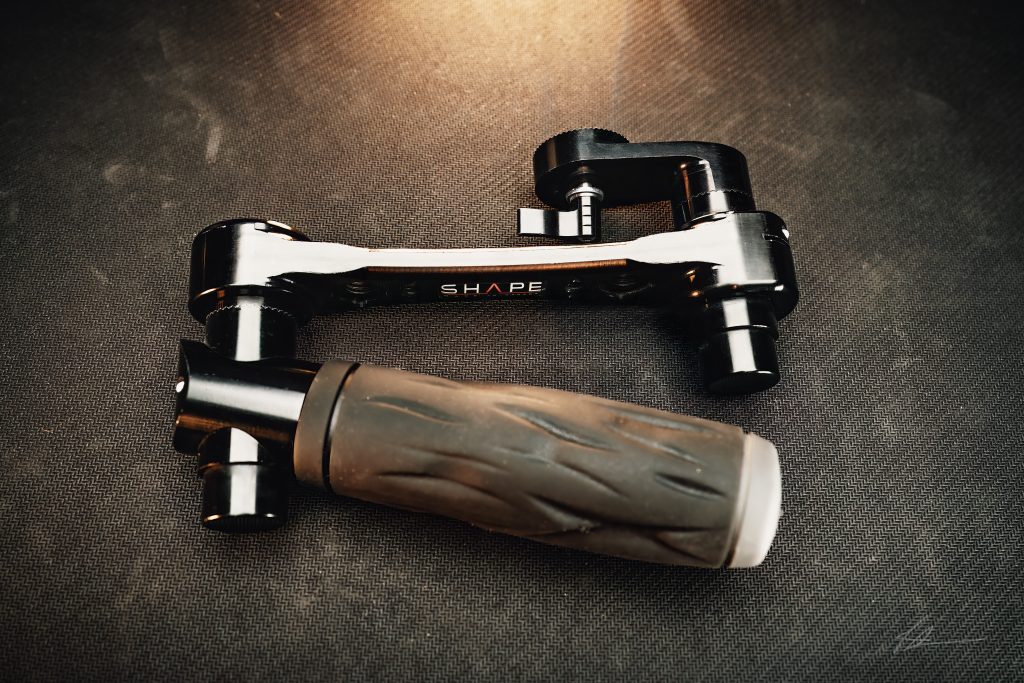
Camera Handles
Since I run an Easyrig so much, I like to have a side handle on the left side to help stabilize the camera. SHAPE has the best handles in the biz in my opinion. I attach them via the ARRI rosettes and reposition them in seconds with their push-button design. I cannot express how much I love this design. There is no perfect configuration for everything on my rigs in every situation, so this is so important for my style; it’s so quick to reposition, allowing me to stay in the creative mode.
Even though this is about the FX6, I feel it’s worth noting that this push-button design is an absolute must for the FX9 too. The major problem with the FX9’s arm extension is the lack of ability to quickly reposition it on the fly or even set it on the ground without it tipping over. My solution is to replace that arm with SHAPE’s push-button arm extension so you can reposition it in half a sec and do what you need to do as a shooter. This also applies to the FX6 if you opted to get more of a shoulder rig design. Again, this is a must-have for these two cameras!I like to think that SHAPE is very open and understanding that a lot of filmmakers need to mix and match manufacturers of gear. If I’m running very expensive primes on my FX6 or FX9, sometimes I prefer a wireless follow focus system such as the Tilta Nucleus. SHAPE has created a simple Nucleus Handle Clamp Relocator that attaches to the Nucleus Handle and allows you to mount this unique wireless follow focus handle design on SHAPE’s push-button handles, which I think is super cool and has been very useful on set for me.
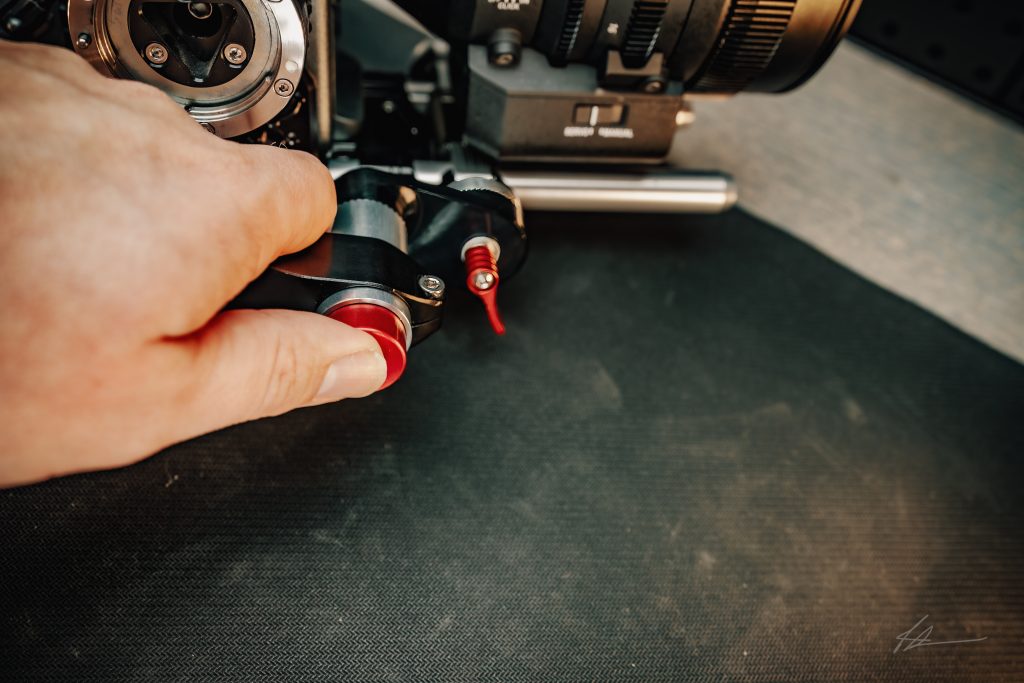
Remote Extension Handle and Quick Disconnects
SHAPE also has a Remote Extension Handle that acts very much like the arm that comes with the FX9…it relocates the FX6 sider remote so you can put the handle in any number of configurations. If you want to shoulder mount the FX6, this is a great start to making that happen. In my case, I use it to relocate the remote handle to the back of the camera so when I am using my Easyrig I can help stabilize my camera movements by holding that handle and the one up in the front left. Also, sometimes it is nice to have the remote handle way in the back when you are on sticks and want some more control from the back of the camera.
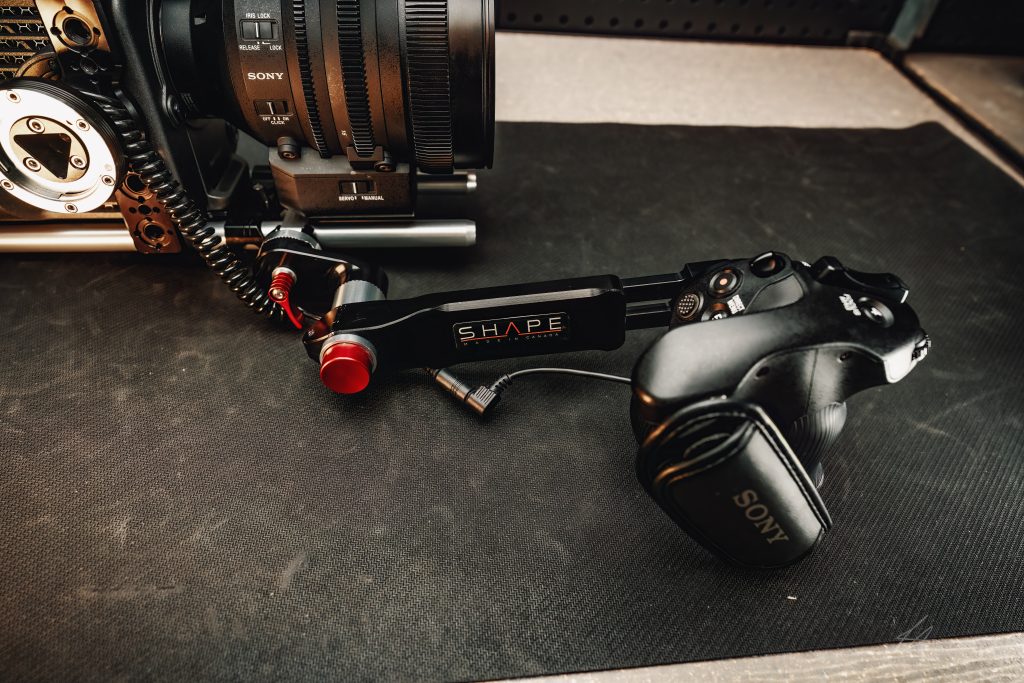
The FX6 remote handle connects to the camera by a quick disconnect, SHAPE replicated this design by making a Side Handle Adaptor to ARRI Rosette that connects to the SHAPE Cage rosette so you can still make use of the quick disconnect feature to move it from the body or cage to the arm extension is seconds and vice-versa. If you do use the Remote Extension Handle, SHAPE also has a LANC 3.5mm Extension Connector so you can still make use of all the functions like zoom, start/stop…etc. from the handle.
Field Monitor
So, this last note about my SHAPE FX6 kits is about my monitoring system. I run the Atomos Ninja V, which is a great addition to this camera with its ability to record Pro Res RAW or monitor HLG footage. The main problem that I have, as do most other filmmakers, is putting too much strain on the HDMI ports on the sides of the monitor. SHAPE has a very simple and effective add-on plate for the side of the Atomos Ninja V that allows you to clamp the cable in position, helping prevent any extra wear and tear on your field monitor. It’s a very small addition that won’t add a ton of extra weight to your setup.
My camera kits have been ever-evolving over the years, but I am very confident and happy with my current setup. I have been lucky enough to find SHAPE and put their gear to the test and have been overwhelmingly happy with the results. This is because SHAPE knows what shooters need, from beginners to well-seasoned professionals.
SHAPE’s camera kits allow you to put the odds in your favor as a shooter, making your cameras more versatile and ready for any situation.